≡ Menu


Good Morning Honey Bees! Welcome to our August release Honey Hop!!!
All this week we have been showing you little sneaks of our awesome new stamp sets and dies! Tomorrow our new release goes live and to celebrate we are showing you some beautiful projects, Today!!!
What’s a Honey Hop without some sweet prizes, right? This time we not only have one awesome prize pack but TWO!! One winner will win our zen florals pack (Zen florals, Zen Bouquet, and each of their matching die sets) and our second winner will win our Alpha prize pack! (Color me alpha stamp set, sentiment alpha stamp set, and color me alpha die set).

All you have to do to win is comment on the Honey Bee Stamps blog and again at each one of our designer’s blogs by Sunday August 28th. Winner will be announced on Monday August 29th at Noon PST.
So Hop along and get ready to BEE inspired!
**
In case you get lost, here is the blog hop order
_____________________________________________________________
Honey Bee Stamps Blog 
Carissa 
Crystal 
Stephanie 
Lydia 
Larissa 
Lesley (ME!)
Laura Jane 
Melissa
Taniesa 
Deepti 
Lisa 
Jenny 
_____________________________________________________________
We *might* just have a few other surprises in store this week, so be sure to check in on our facebook page as well as our Instagram!Thanks for hopping with us!

***

Hello Crafty Friends! Lesley here! Sharing some photos and a VIDEO too!

Here is my card for today’s Honey Hop! It focuses on the awesome Zen Floral Stamp set, and also features the new Diamond embellishments!


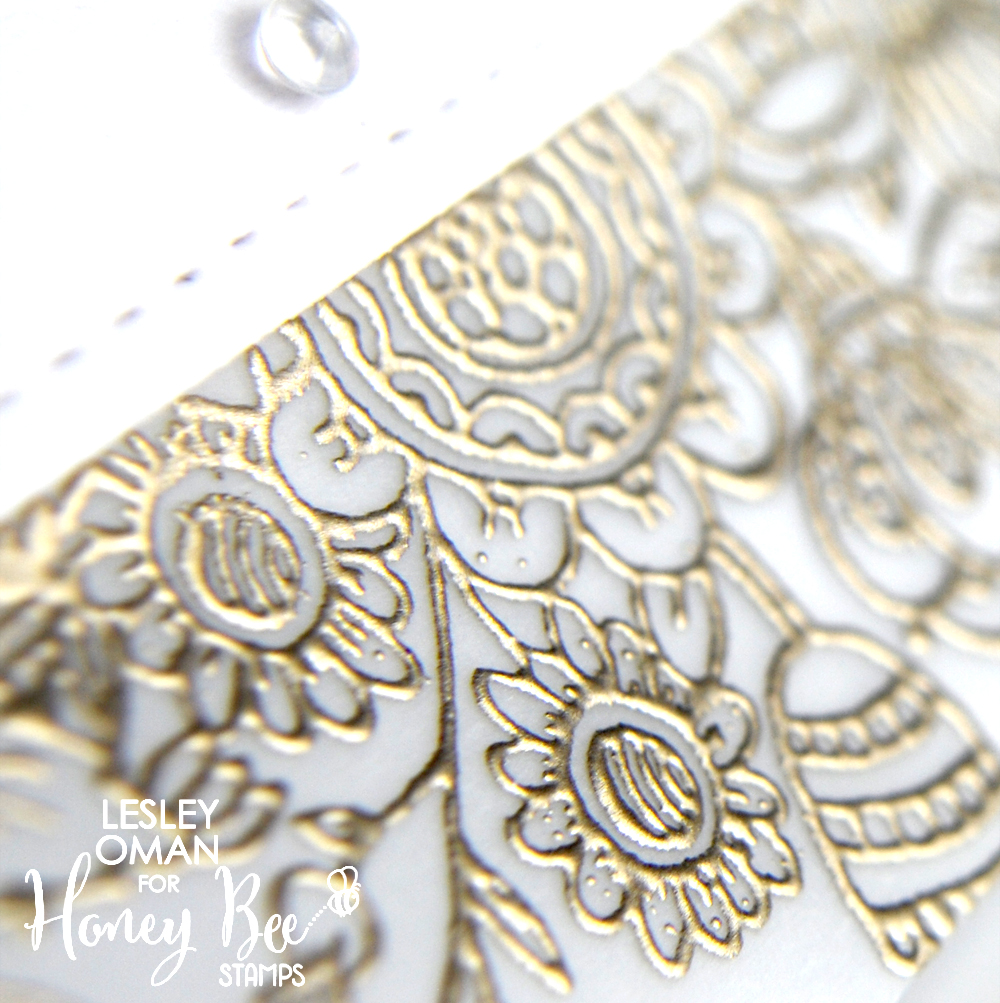
Just look at the detail in this border stamp set! I adore it!
As soon as I saw the large border stamp in the Zen Florals set, the cute arrangement of flowers and foliage really reminded me of some lace edging, and at that moment I knew that I wanted to recreate a feeling of lace on my card!

So I decided to create a frame around a focal panel, using some liquid platinum embossing powder on some vellum! Here’s the finished card! Be sure to check out the video tutorial below!

I promise the photos aren’t even half as beautiful as this is in real life – and just look at the detail!

For the greeting, I used the Prayers Honeycuts with the awesome Sentiment Builder stamp set to create a custom greeting. I decided to stick with the simple colour scheme to create an elegant feel.

But OH, those diamonds! Just look at how perfect they are! SWOOOOONNNN!

Be sure to watch this video so you can see me walk you through the whole process, and share some tips and techniques a long the way! It’s also fun to get a better look at some of the great products form HoneyBeeStamps on video!

After making this card, I got swept away and quickly made a co-ordinating card using a different colour scheme! I just couldn’t wait to colour in those flowers!

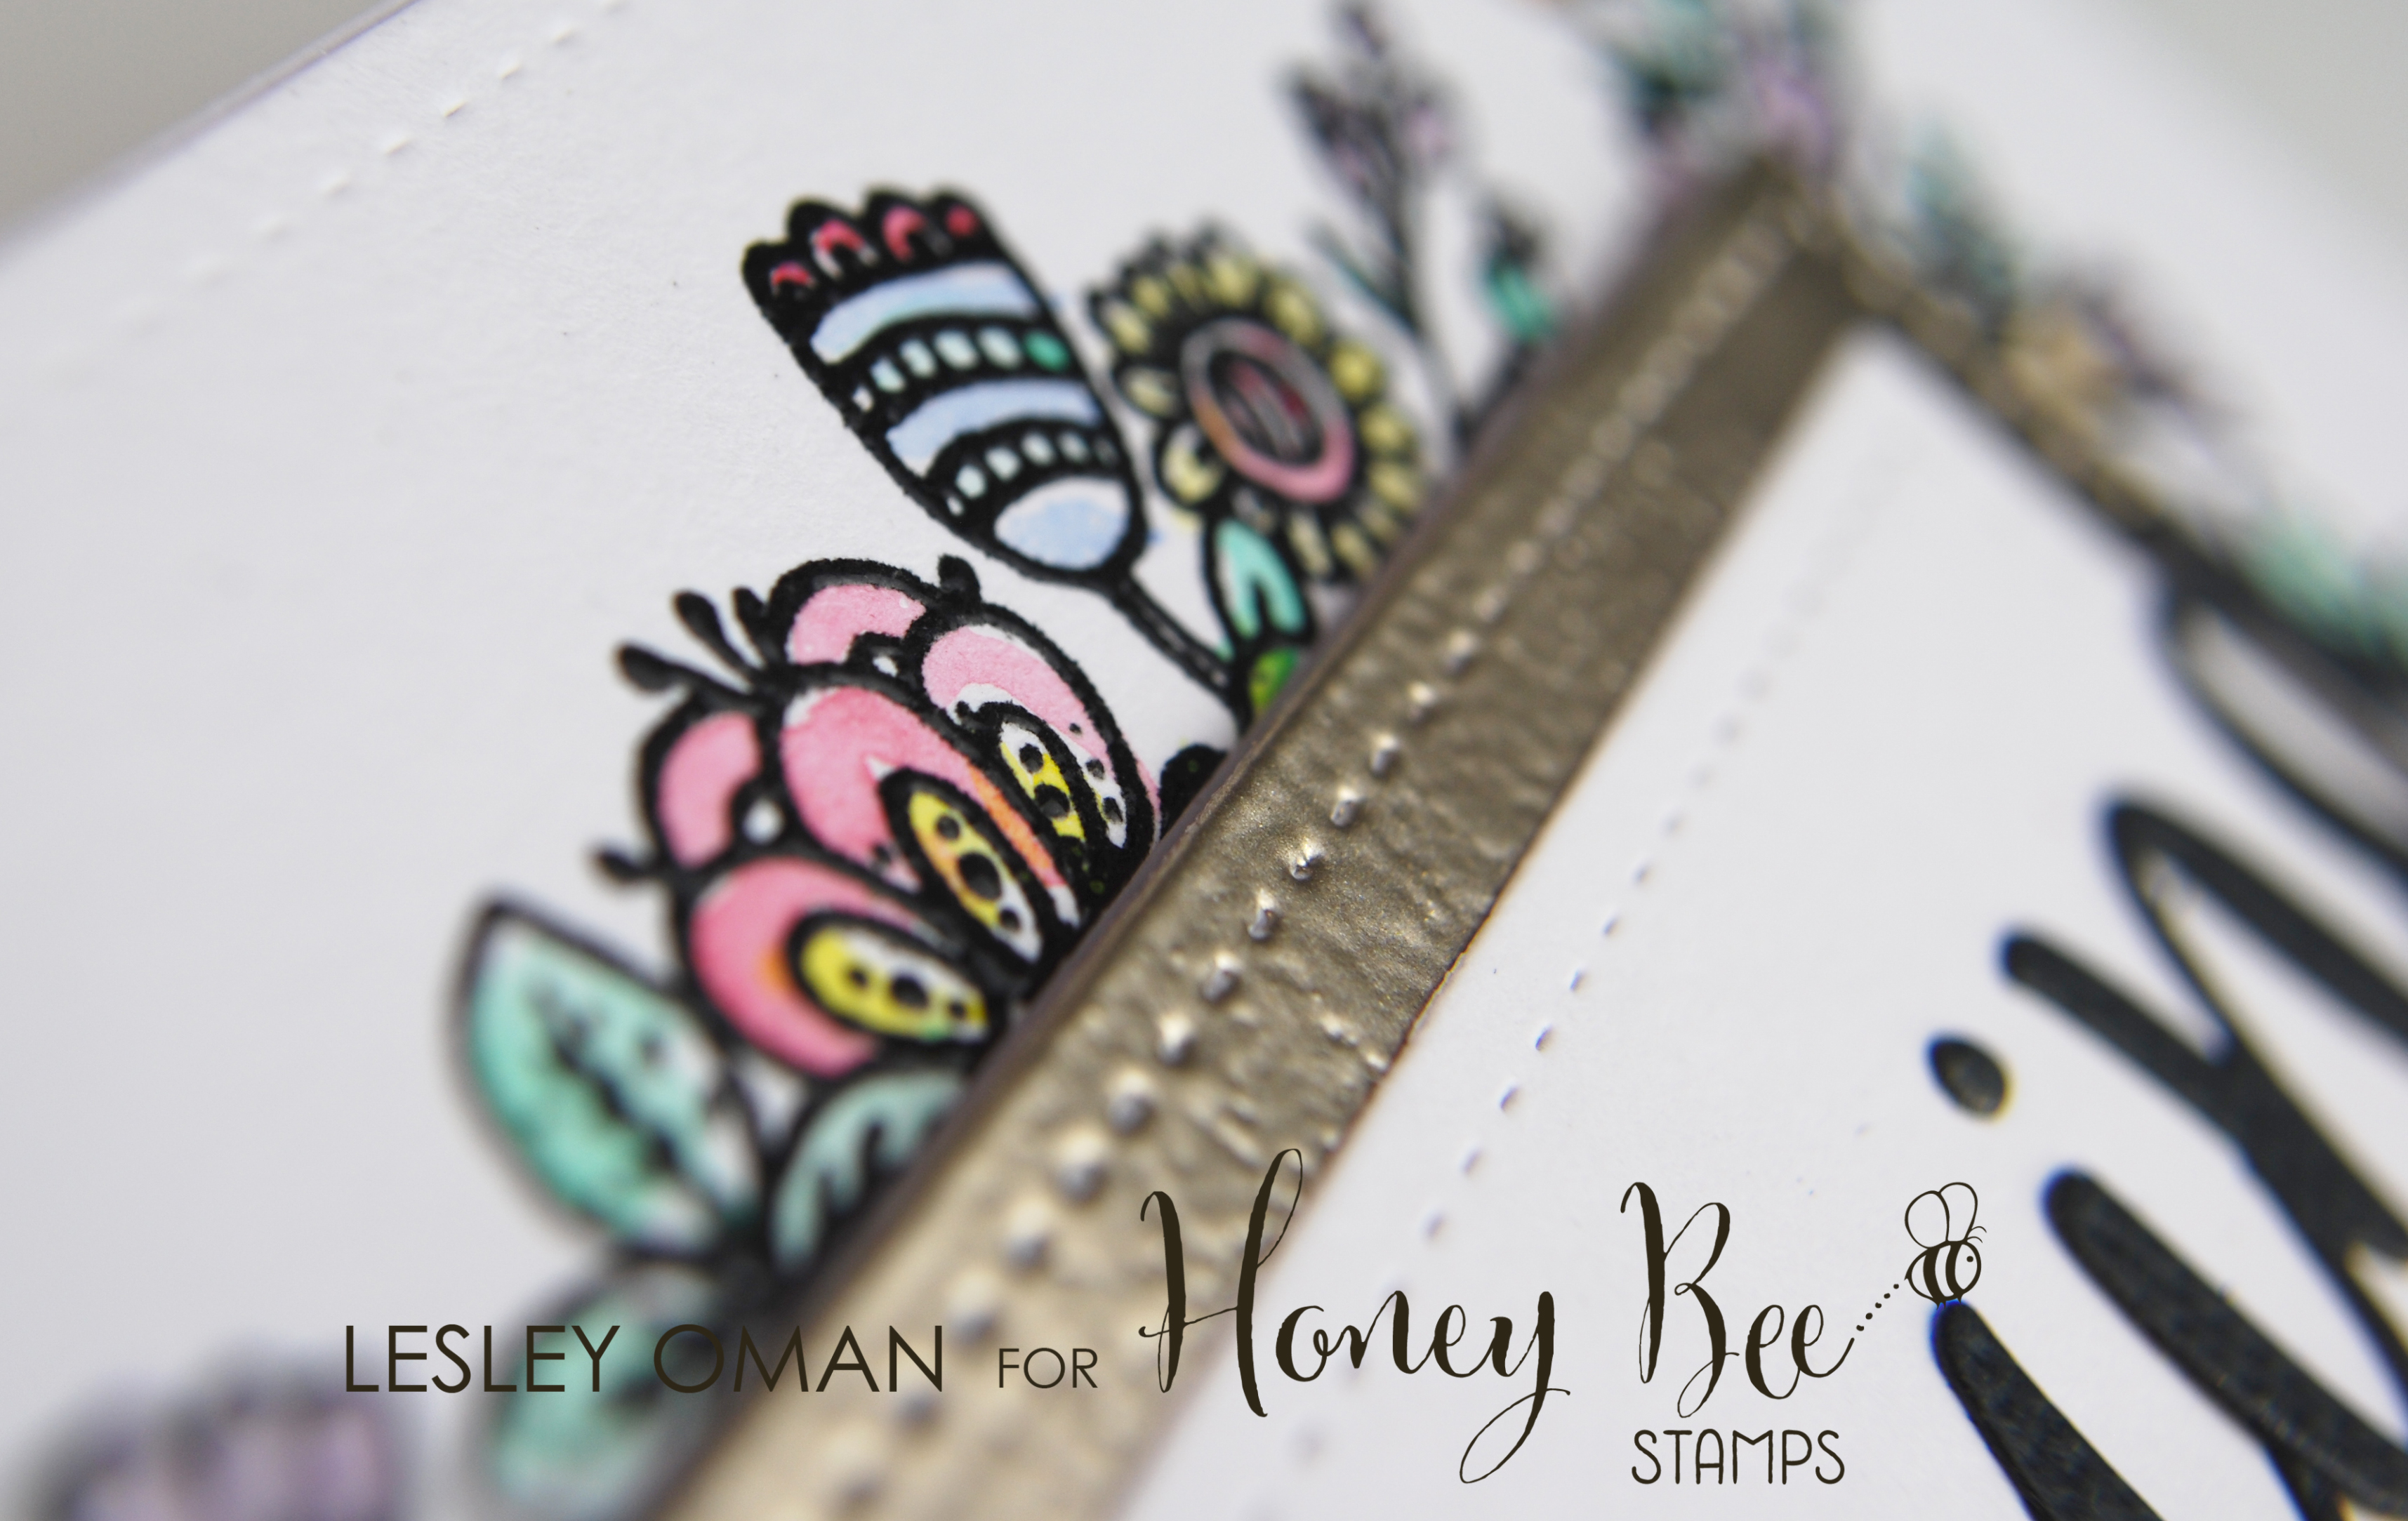
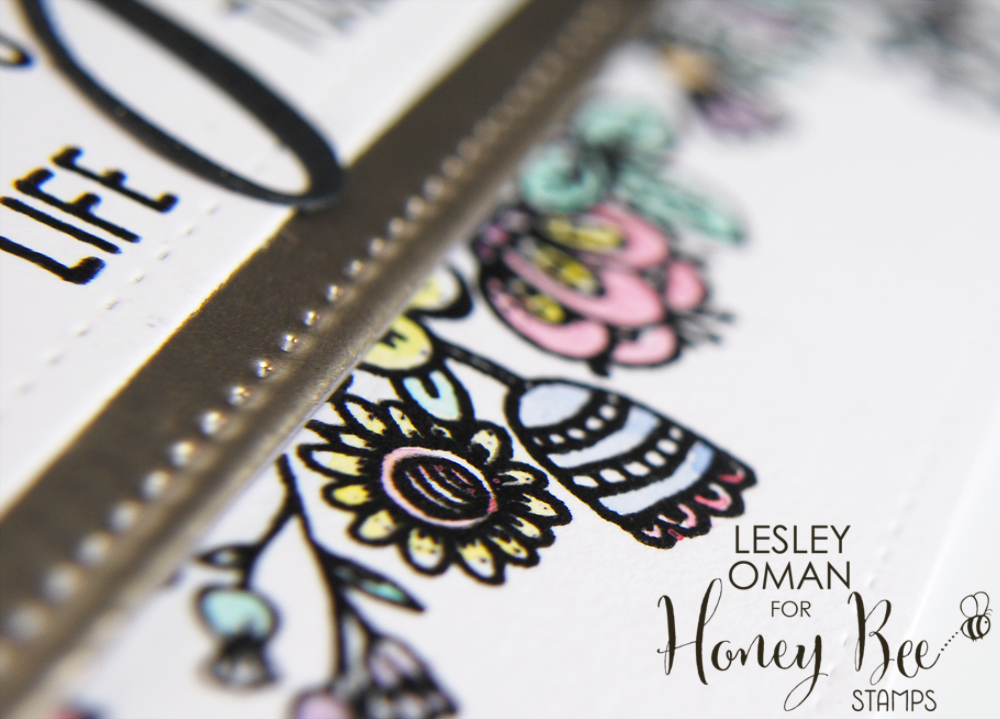
I love how this card is the same design, but has a completely different feel! That’s the magic of colour!

This time I stamped in black versa fine ink, with clear embossing powder over the top and then coloured the floral images using a little watercolour paint.

Did you notice that this time I trimmed down the curly bit on the ‘G’. I just thought it would give a slightly different style to the card!

You guys are going to LOVE this Zen Floral set, and just wait until you see the rest of the amazing stamps!

SO now its time for you to hop on over to the next Honey Bee on the list which is

the amazing Laura Jane! 

Have fun my crafty friends!

{ 48 comments }


Hey every one,

Honey Bee Stamps is the sponsor over at the Tuesday Throwdown blog this week, with the challenge being ‘make it sparkle!’

Feel free to visit the Tuesday Throwdown blog to be inspired and for a chance to win!

This is the card that I made from the ‘make it sparkle’ prompt!

I used some dye inks to create a blended background of yellows and pinks, and ran this through the cuttlebug with a Lawn Fawn stitched rectangle die, and a mama elephant All prettied Up scalloped circle die.

I stamped a flower and some leaves from the new Zen Floral #honeybeestamps stamp set! This stamp set has only been announced – check out the Honey Bee Stamps Instagram to see the whole set, and please join us over on Facebook for the New Release Launch Party this week 22nd-26th August!

For inside the shaker bit, i stamped some hearts in coordinating colours, and then stamped the shadow heart stamp over the top, embossed with gold glitter embossing powder. Both hearts are from the Beautiful Life stamp set!

I also stamped some words from the Sentiment Builder stamp set on the inside, embossed with regular gold embossing powder this time.

Most of the sparkle really comes from the die cut ‘wonderful‘ which is a Honeycuts die from Honey Bee Stamps. I layers up a few die cuts, and then spread glue on top and used some Gold Glamour dust fine glitter on top. I promise you, the shimmer is soooo much better in real life! is gorgeous!
To balance the card, and add a little more glamour, I stuck down three lines of double sided sticky tape along the bottom section of the card – and once again went mad with the glitter! 🙂


have a sweet day, my crafty friends!!

{ 2 comments }

%image_alt%
Morning Crafty friends, Hope you are all well!
Whilst most of you guys are starting to think about getting ready for returning to school, I am only getting round to sharing these cards that I made for Piper’s teachers at the end of term.  I decided to skip over the apple themes, mugs and pencils galore, and just give the teachers a gift card so they could treat themselves. But I wanted to make the present special by incorporating the gift card into the design of a handmade card.

For these cards, the Fairy Friends stamps from Lawn Fawn were perfect, and the sentiment ‘thank you fairy much’ worked a treat! Because I knew that I needed to do three cards, I stamped a selection of fairies and flowers off camera and coloured these with my copic markers whilst indulging in a little Netflix action one evening. For the card, I used some dies from Lawn Fawn and Paper Smooches, and I also used some stamps from @HoneyBeeStamps on the tag that went inside. Also, I used an alpha stamp set to stamp the word ‘pull’ onto the tab, but unfortunately I don’t know the manufacturer of that stamp set – but if you see it in the video and recognise it, be sure to let me know. 🙂

Here’s a close up of one of the cards!

%image_alt%

Orange seemed like a summery colour scheme to go for! I actually don’t use orange very much, and i like to challenge myself every now and again to work outside of the box!

%image_alt%

I stamped the bluebell image and then fussy cut the individual flowers to create another style of tulip flower for the background. I actually did this before i realised that there was already a tulip stamp in the set! Silly billy!

%image_alt%

For the little fairy at the front in the centre, i created my own wobbler so that she could be ‘flying’ – well, it kinda does look like she is floating above the surface of the card and its nice that she has a little movement. For more details on how i made this, check out the video.

Behind the framed scene, I created a pocket big enough to fit a cute tag where I could attach the gift card, with a little pull tab on the top, where i attached a flying fairy.

%image_alt%

Of course I had to get little miss PrincessPi to write the teachers names on the tag! For this side of the tag i used some #honeybeestamps images to embellish it! The heart is from the Beautiful Life stamp set, and the ‘to’, ‘from’ and ‘from my heart to yours’ stamp is from the Special delivery stamp set.

%image_alt%

Well, I will leave you guys with the video! enjoy!

{ 1 comment }